Google Analyticsの設定
「Google Analytics」のアカウント作成からWordPressのCocoonで設定方法について説明します。
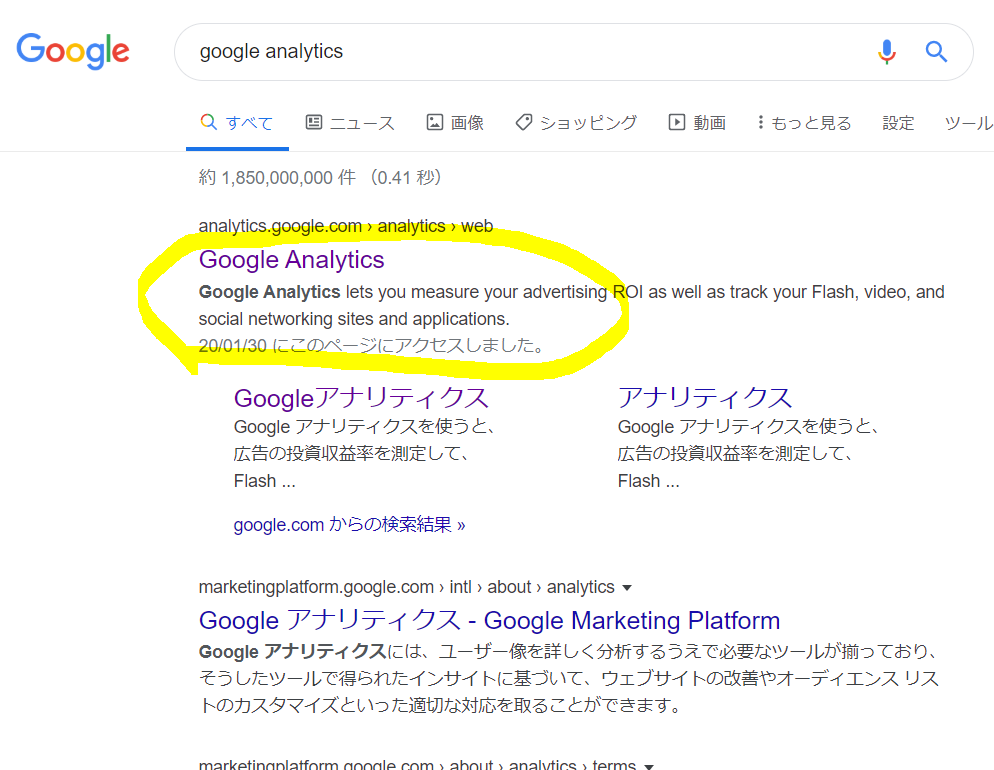
Google で「Google Analytics」を検索し、検索された 「Google Analytics」 をクリックします。
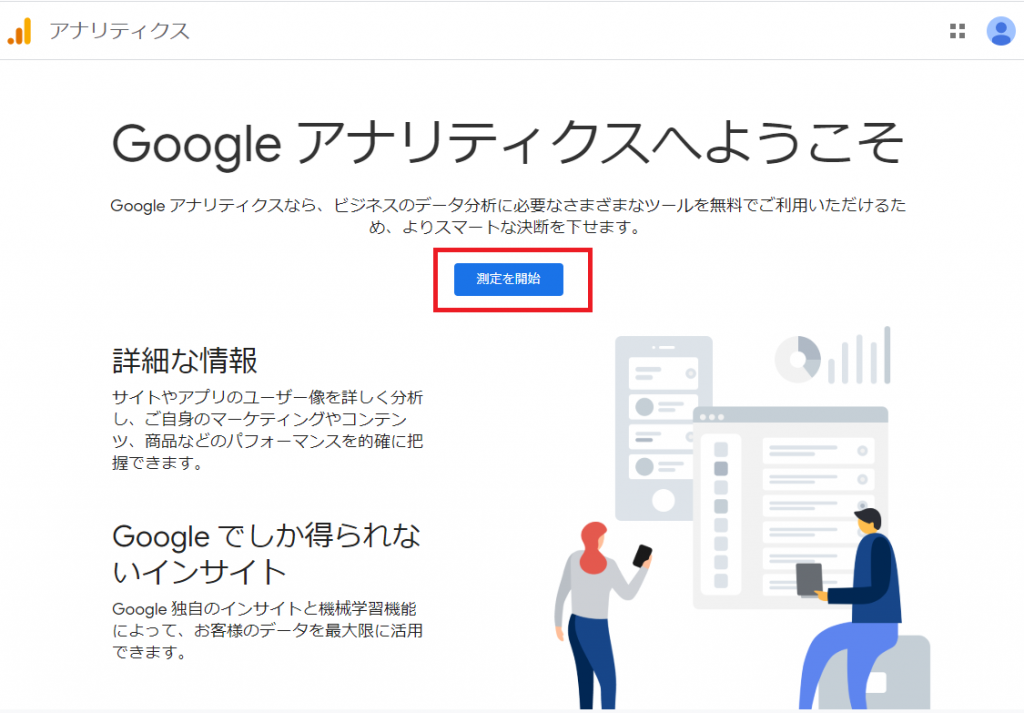
「測定を開始」をクリックします。
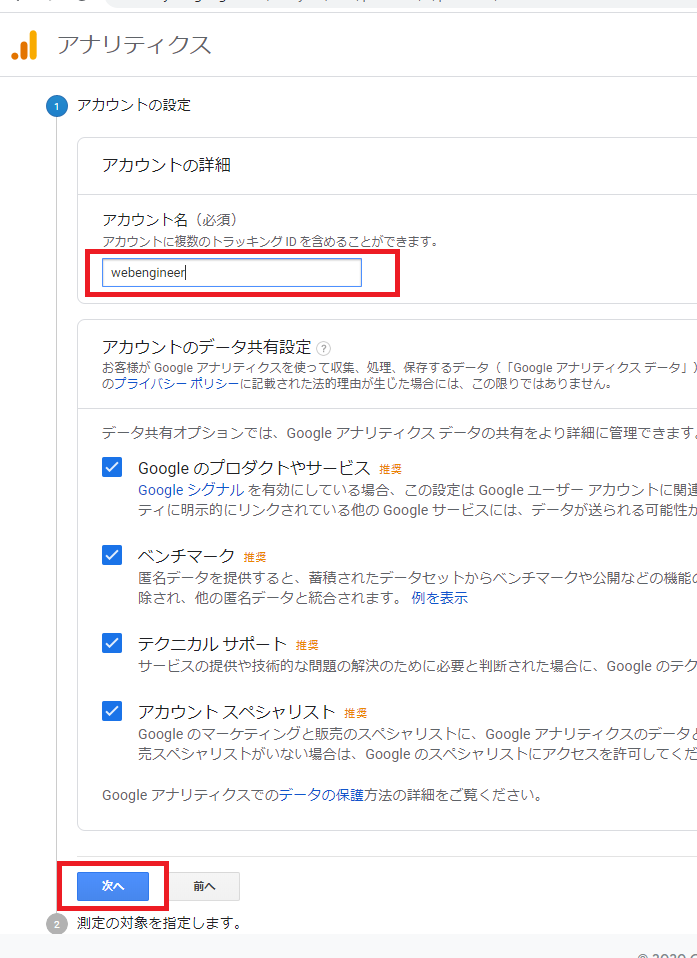
アカウント名を登録します。 分かりやすい名前であれば何でも良いです。
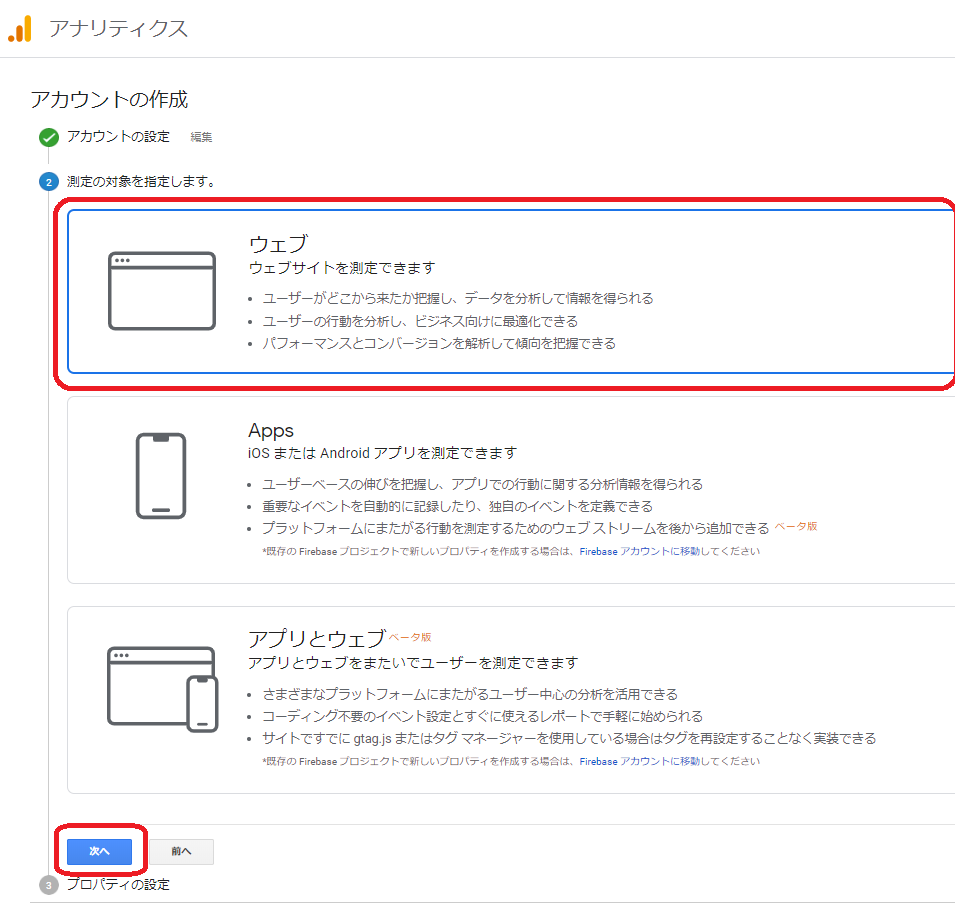
測定の対象はウェブとします。
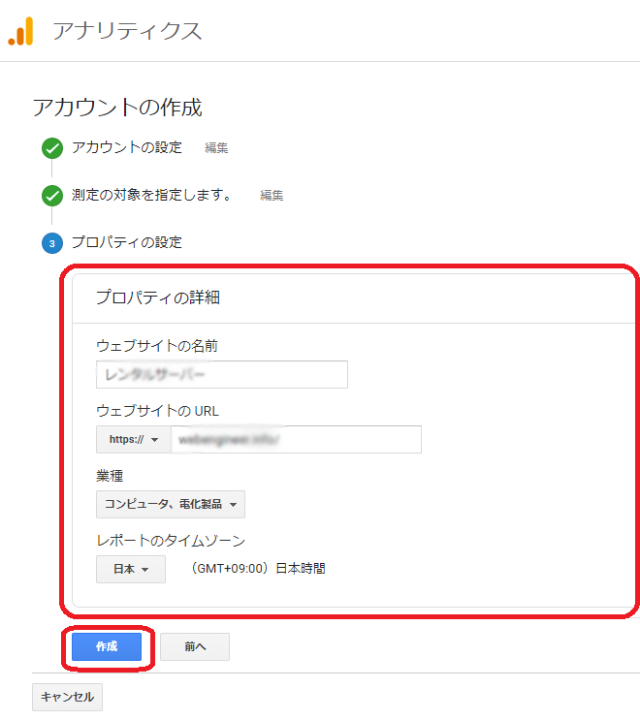
ウエブサイトの名前(分かりやすい名前)とウエブサイトのURLを入力します。
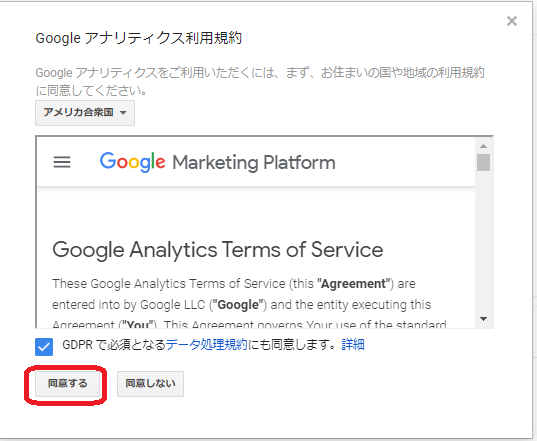
利用規約に「同意」します。
トラッキングIDをコピーします。

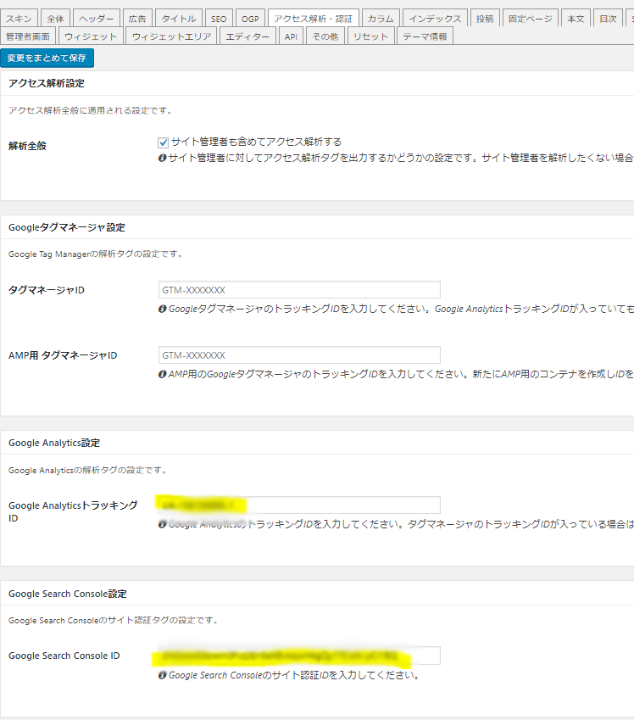
「Google AnalyticsトラッキングID」の設定
Cocoonの「Cocoon設定」⇒「アクセス解析・認証」タブで「Google Analytics設定」の「Google AnalyticsトラッキングID」に設定します。
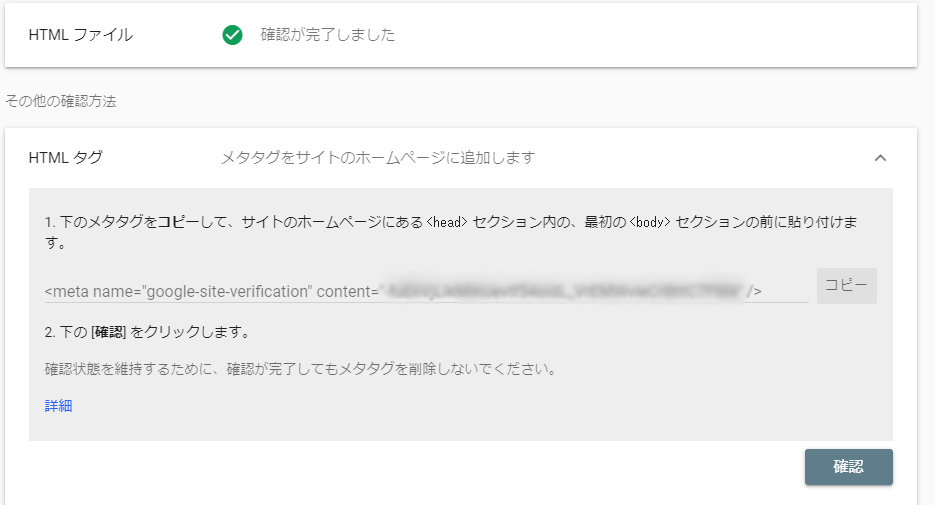
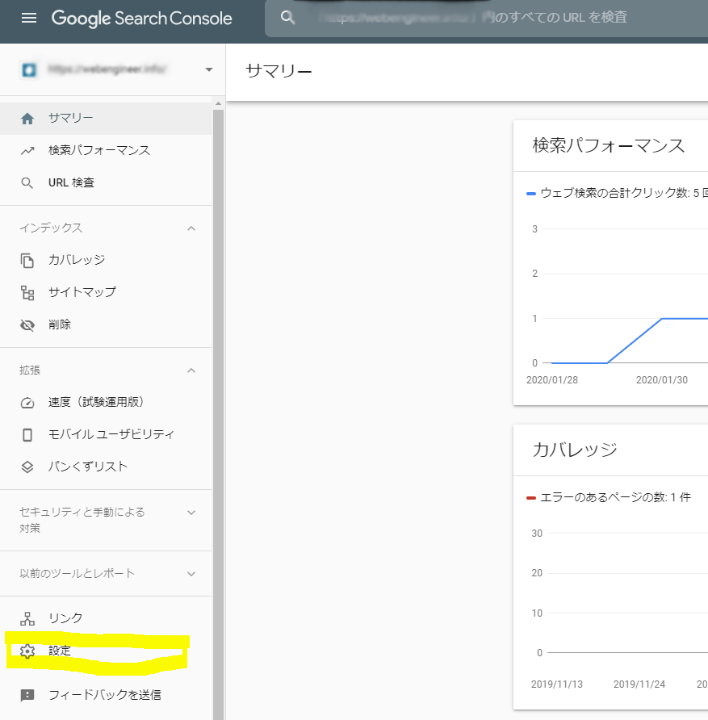
「Google Search Console ID」は、「 Google Search Console 」を開き、[設定]をクリックします。
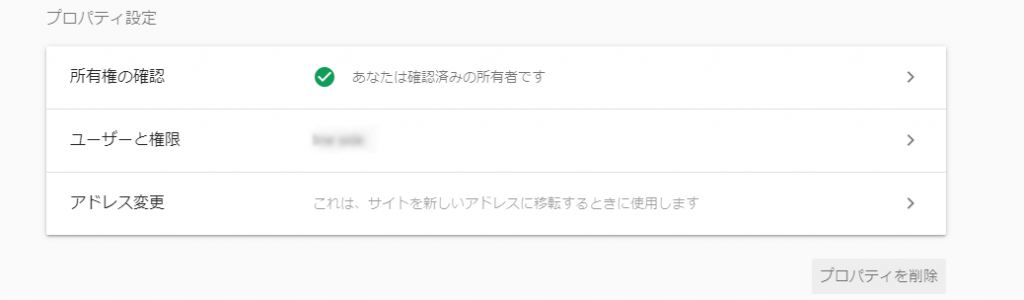
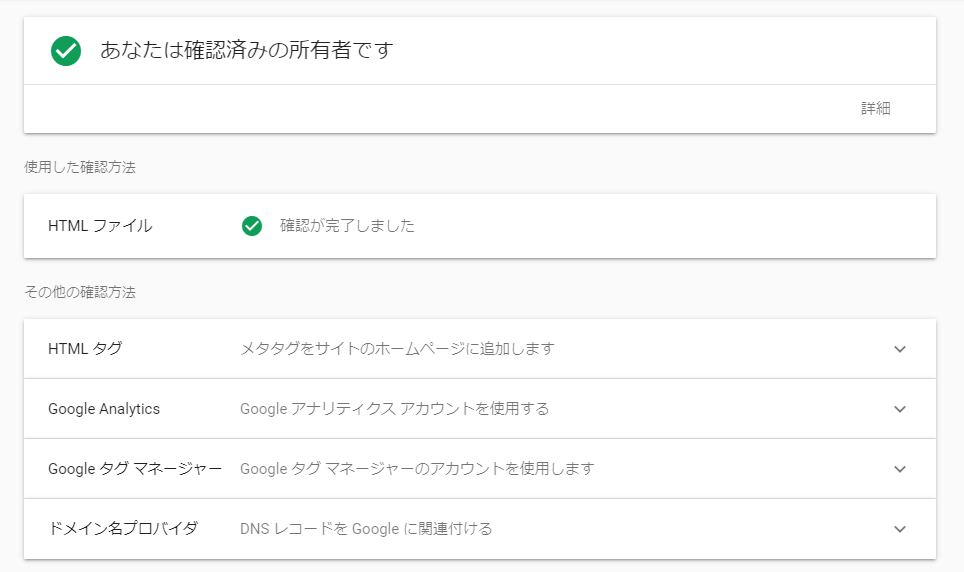
「所有者の確認」の”>”をクリックします。
「HTMLタグ”の右側の矢じるしをクリックします。
content=の中身が、 「Google Search Console ID」 になります。