Sqliteのインストール

SQLite Home Page
www.sqlite.org
インストールは、比較的簡単にできます。以下のコマンドを順次打ち込みます。バージョンの箇所は適時、変更してください。
バイナリは、$HOME/tool/binにインストールされます。バージョンは3.33.0 2020-08-14です。
[~]$ mkdir $HOME/tool
[~]$ cd www
[~/www]$ mkdir repository
[~/www]$ cd repository
[~/www/repository]$ wget https://www.sqlite.org/2020/sqlite-autoconf-3330000.tar.gz
[~/www/repository]$ tar xvfz sqlite-autoconf-3330000.tar.gz
[~/www/repository]$ cd sqlite-autoconf-3330000
[~/www/repository/sqlite-autoconf-3330000]$  ./configure --prefix=$HOME/tool
[~/www/repository/sqlite-autoconf-3330000]$ make
[~/www/repository/sqlite-autoconf-3330000]$ make install
[~/www/repository/sqlite-autoconf-3330000]$ cd $HOME$tool
[~/tool/bin]$ ln -s sqlite3 sqlite
Subversion(サーバ)のインストール

Download Apache Subversion Sources
subversion.apache.org
subversion(サーバ)を$HOME/tool binにインストールします。./configure でエラーが出るため”–with-utf8proc”のオプションを付加します。
リポジトリmyreposを作ります。必要に応じて、エラー抑止のためシンボリックリンクを張ります。
[~/www/repository]$ wget https://downloads.apache.org/subversion/subversion-1.14.0.tar.gz
[~/www/repository]$ tar xvfz subversion-1.14.0.tar.gz
[~/www/repository]$ cd subversion-1.14.0
[~/www/repository/subversion-1.14.0]$ ./configure --prefix=$HOME/tool

checking for lz4 library via pkg-config... yes
configure: utf8proc configuration without pkg-config
checking for utf8proc_version in -lutf8proc... no
configure: error: Subversion requires UTF8PROC; install it or re-run configure with "--with-utf8proc=internal"

[~/www/repository/subversion-1.14.0]$ ./configure --prefix=$HOME/tool --with-utf8proc=internal
[~/www/repository/subversion-1.14.0]$ make
[~/www/repository/subversion-1.14.0]$ make install

[~/www/repository/subversion-1.14.0]$ mkdir $HOME/svn/
[~/www/repository/subversion-1.14.0]$ cd $HOME/svn/

[~/svn]$  $HOME/tool/bin/svnadmin create myrepos

[ ~/svn]$ ln -s $HOME/tool/bin/svnserve $HOME/bin/svnserve
Subversion(クライアント)のインストール

Downloads · TortoiseSVN
download TortoiseSVN
tortoisesvn.net
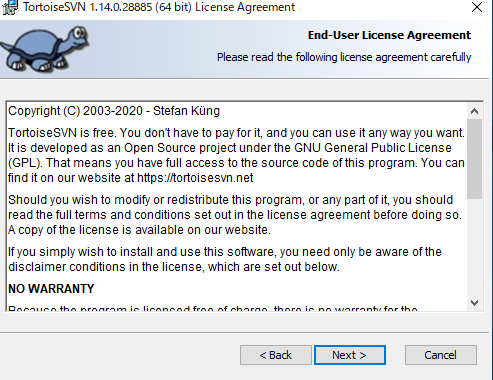
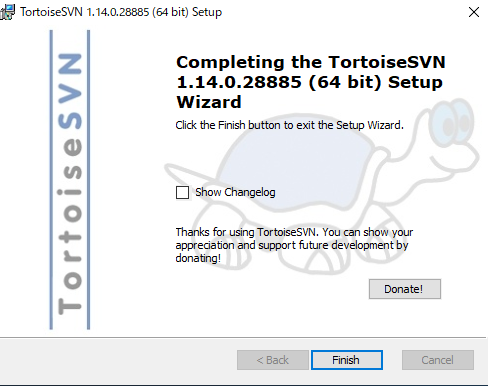
64bit版をダウンロードします。
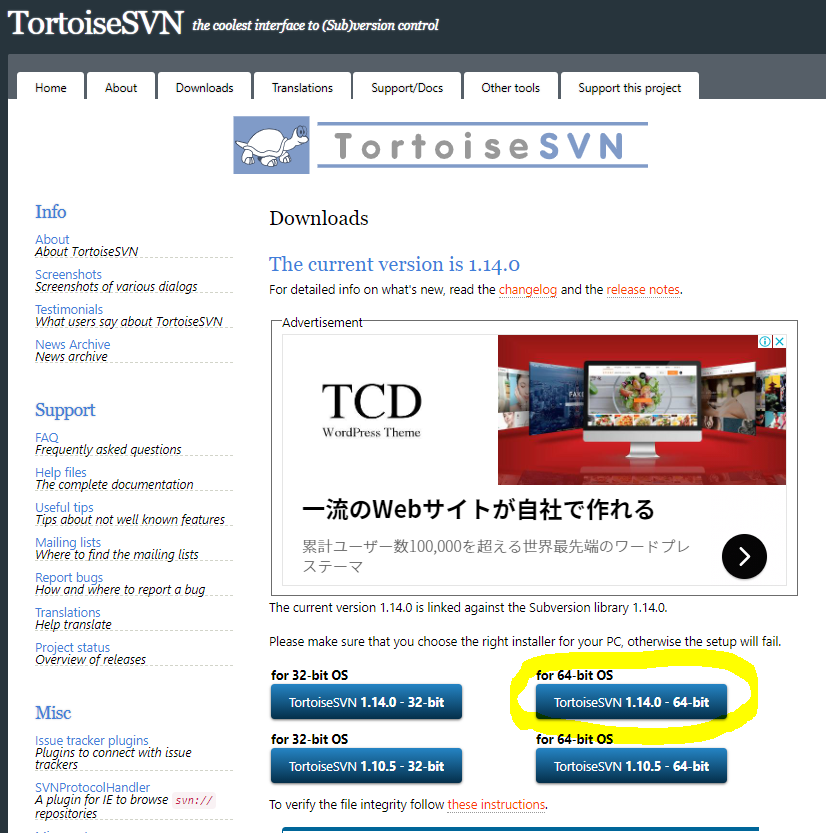
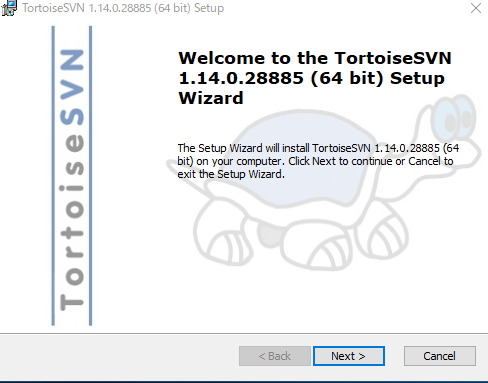
ダウンロードしたTortoiseSVN-1.14.0.28885-x64-svn-1.14.0.msiをクリックしてダウンロードします。
Subversion(クライアント)のメニューの日本語化
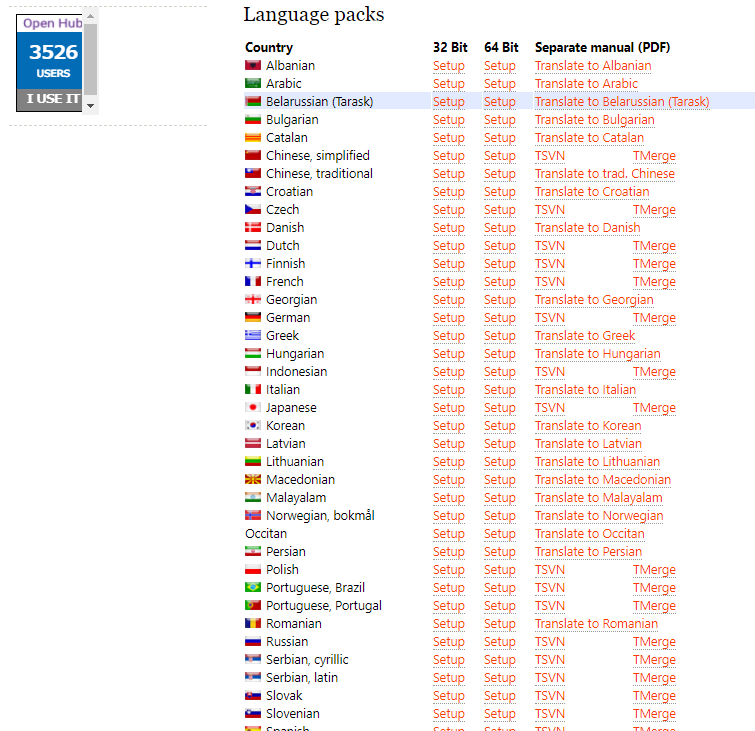
メニューが英語なので、日本語のパッチを当てます。https://tortoisesvn.net/downloads.htmlの下の方に日本語パッチがあります。
64bit版を選択し、ダウンロードします。
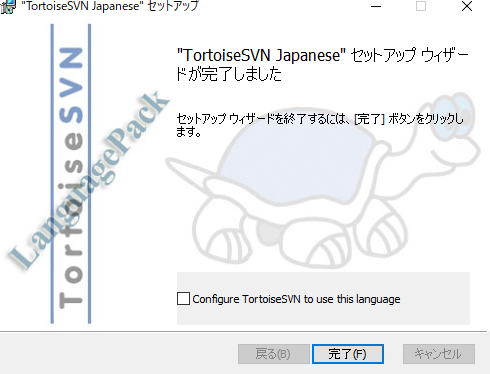
LanguagePack_1.14.0.28885-x64-ja.msiをクリックしてインストールします。

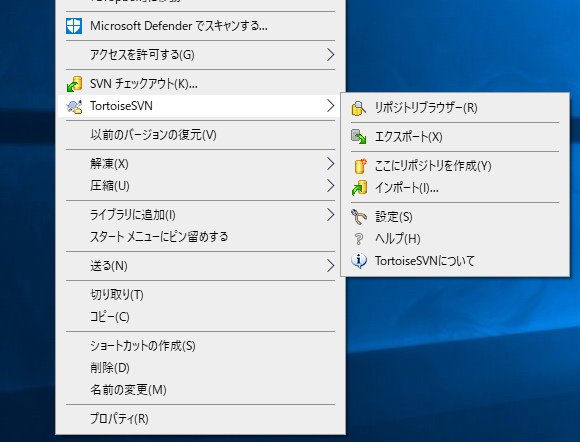
メニューで日本語化できました。
Subversion(クライアント)の設定
SSHクライアントに以下を記入します。userID、yourPasswordは、サーバのログインIDとパスワードです。
"C:\Program Files\TortoiseSVN\bin\TortoisePlink.exe" -l userID -pw yourPassword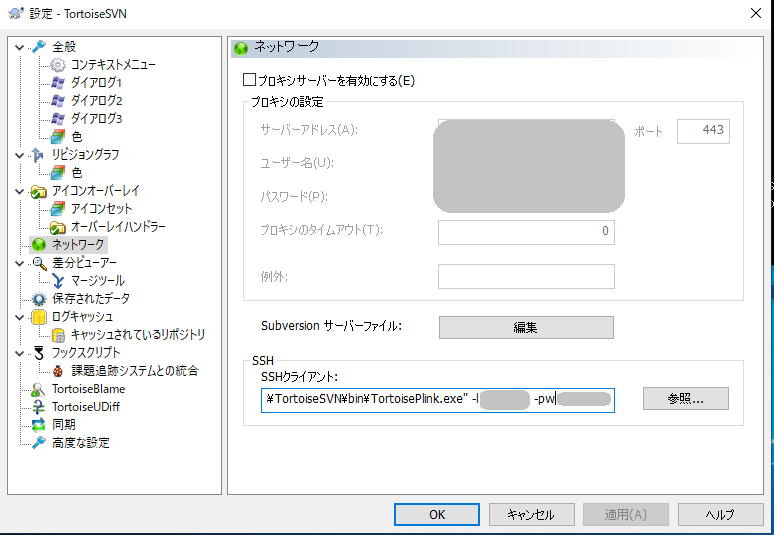
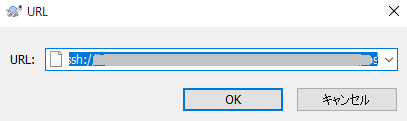
TortoiseSVNのリポジトリブラウザを選択します。
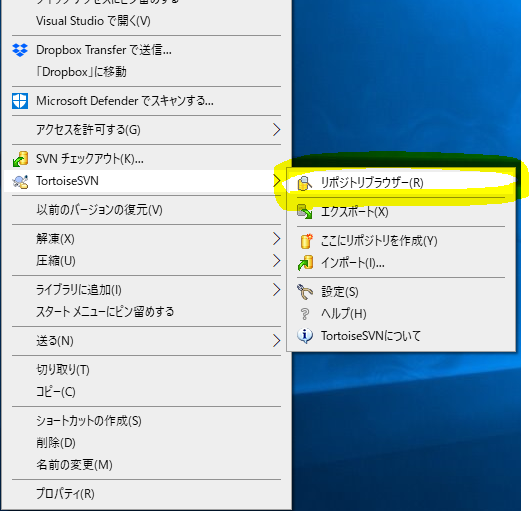
URLアドレスに以下を入力します。XXXXX,YYYYYは適時、修正してください。
svn+ssh://xxxxx.sakura.ne.jp/home/yyyyy/svn/myrepos