概要
Windows10にSeleniumをインストールして、Google chromeの自動化を行います。
インストール
Pythonのインストール
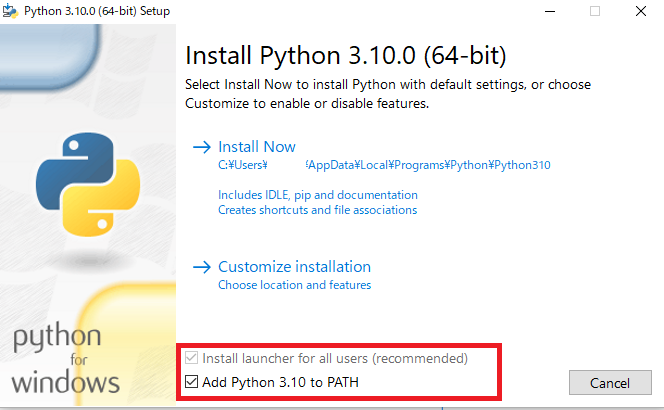
以下のサイトよりインストーラをダウンロードします。Python 3.10.0(64bit)をダウンロードします。
インストールします。
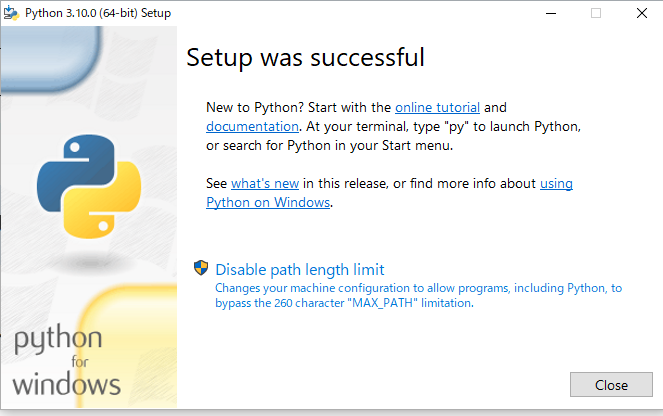
インストールが終了します。
Selenium Pythonのインストール
コマンドプロンプトを起動し、以下のコマンドを実行します。
pip install seleniumインストールログを出力されて、インストールが終了します。
C:\Users\user>pip install selenium
Collecting selenium
  Downloading selenium-4.0.0-py3-none-any.whl (954 kB)
     |████████████████████████████████| 954 kB 6.4 MB/s
Collecting trio~=0.17
  Downloading trio-0.19.0-py3-none-any.whl (356 kB)
     |████████████████████████████████| 356 kB ...

~ 省略 ~

Successfully installed async-generator-1.10 attrs-21.2.0 certifi-2021.10.8 cffi-1.15.0 cryptography-35.0.0 h11-0.12.0 idna-3.3 outcome-1.1.0 pyOpenSSL-21.0.0 pycparser-2.21 selenium-4.0.0 six-1.16.0 sniffio-1.2.0 sortedcontainers-2.4.0 trio-0.19.0 trio-websocket-0.9.2 urllib3-1.26.7 wsproto-1.0.0
WARNING: You are using pip version 21.2.3; however, version 21.3.1 is available.
You should consider upgrading via the 'C:\Users\user\AppData\Local\Programs\Python\Python310\python.exe -m pip install --upgrade pip' command.
seleniumを新しいversionにアップデートしたい場合は、一旦、 selenium を削除して改めてインストールする必要があります。 selenium の削除は、以下のコマンドです。
pip uninstall seleniumAtom(エディター)のインストール
インストール
- Atomというエディター上でSelenium Pythonのコードを記述し実行することとします。
- Atomをインストールしていきます。以下のサイトからダウンロードしてインストールします。
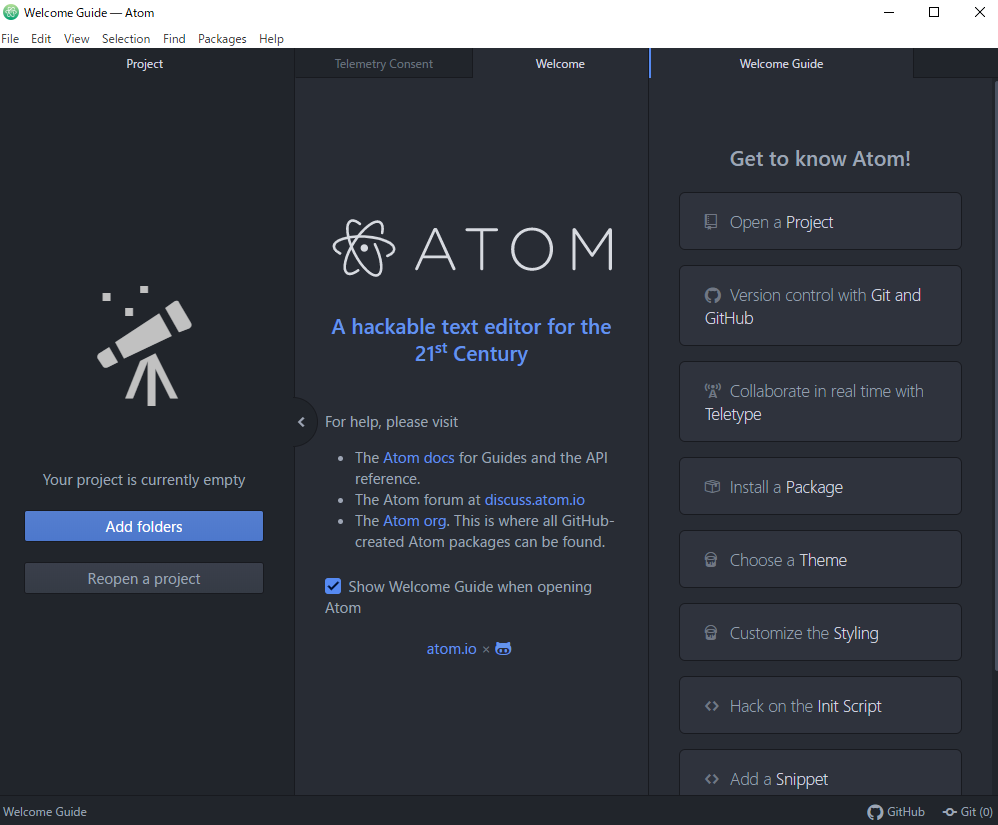
問題なくインストールが終了すると、以下のような画面になります。
日本語メニュー
- 日本語のメニューにします。
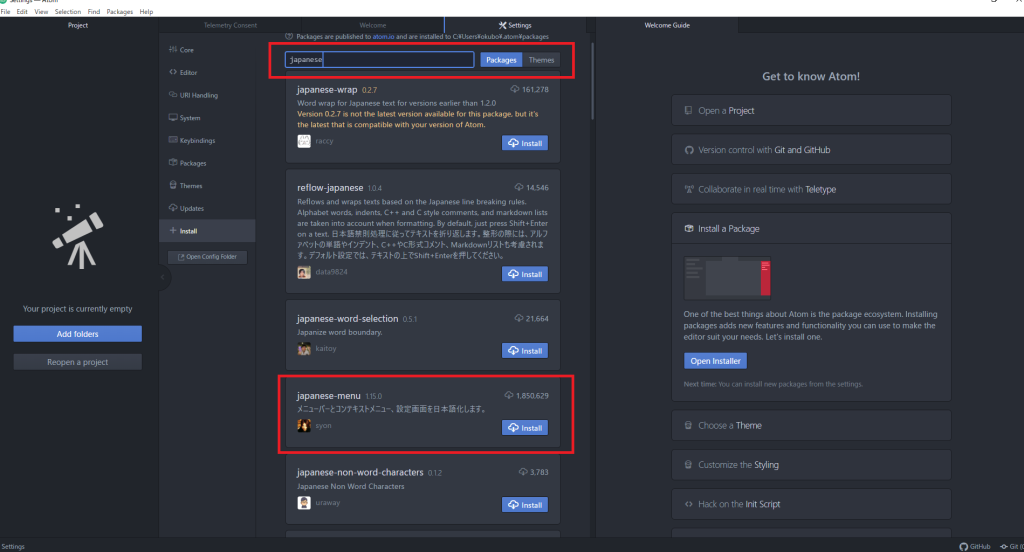
- Atomを起動後、下図のように「Install a Package」をクリックします。隠れていた部分が表示されるので「Open Installer」をクリックします。
- 「japanese menu」を選択して、インストールします。インストールが終了するとメニュが日本語になります。
Pythonと連携
日本語化と同様に赤枠のテキストボックスに「atom-runner」と入力し、「パッケージ」ボタンをクリックします。一覧に表示された「atom-runner」の「Install」ボタンを押下します。
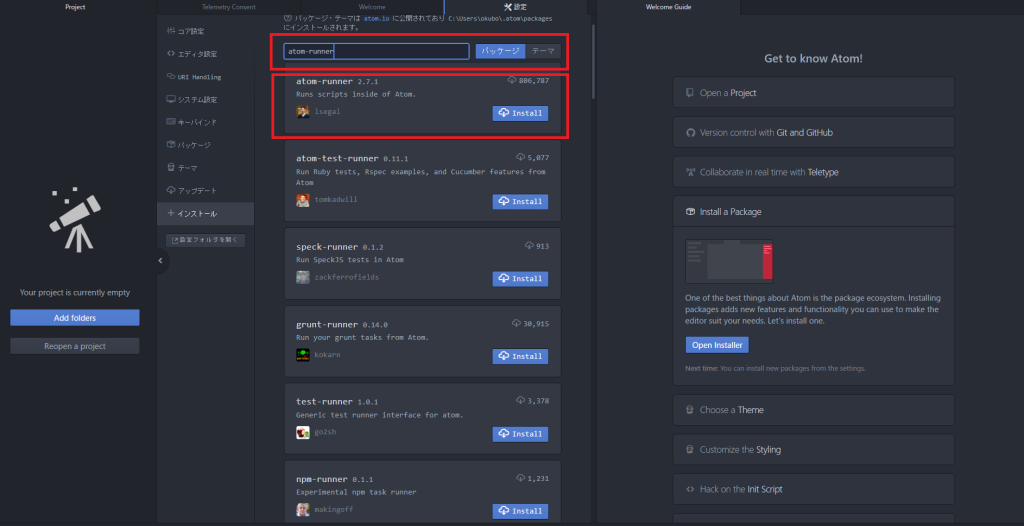
これでAtom上でPythonが実行できるようになります。
動作確認(Selenium Python)
- Chromeのドライバーをインストールします。
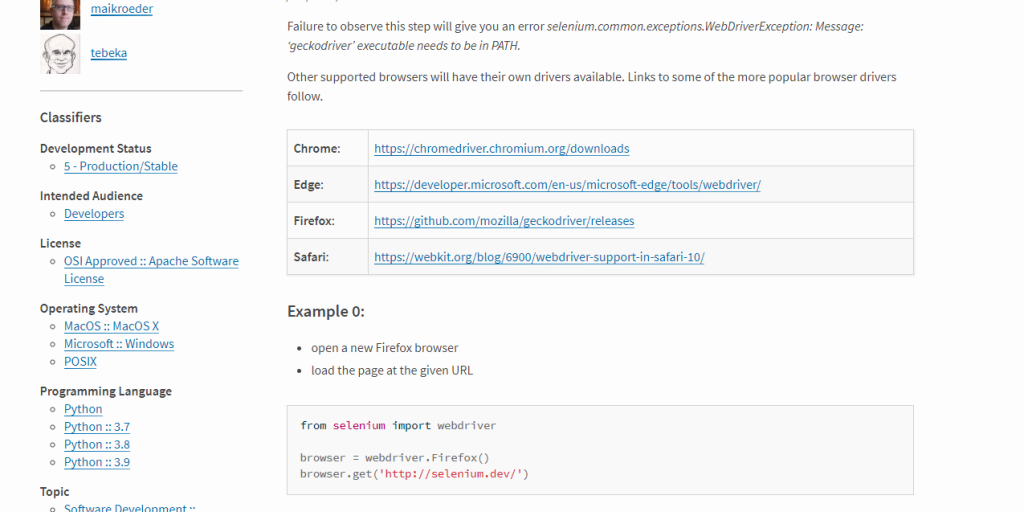
- PythonのStable: 4.0.0 (October 13, 2021)クリックします。
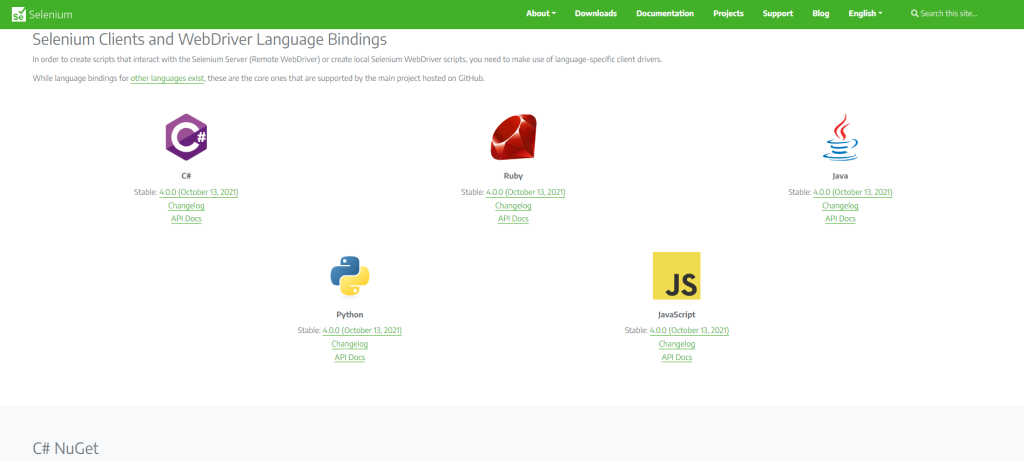
Google Chromeをクリックします。
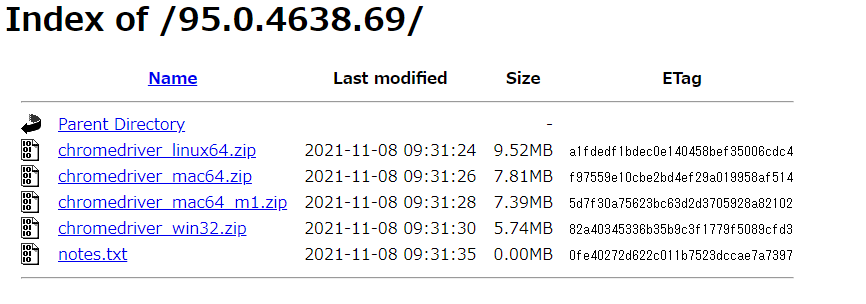
以下のようにバージョン毎にダウンロードできます。
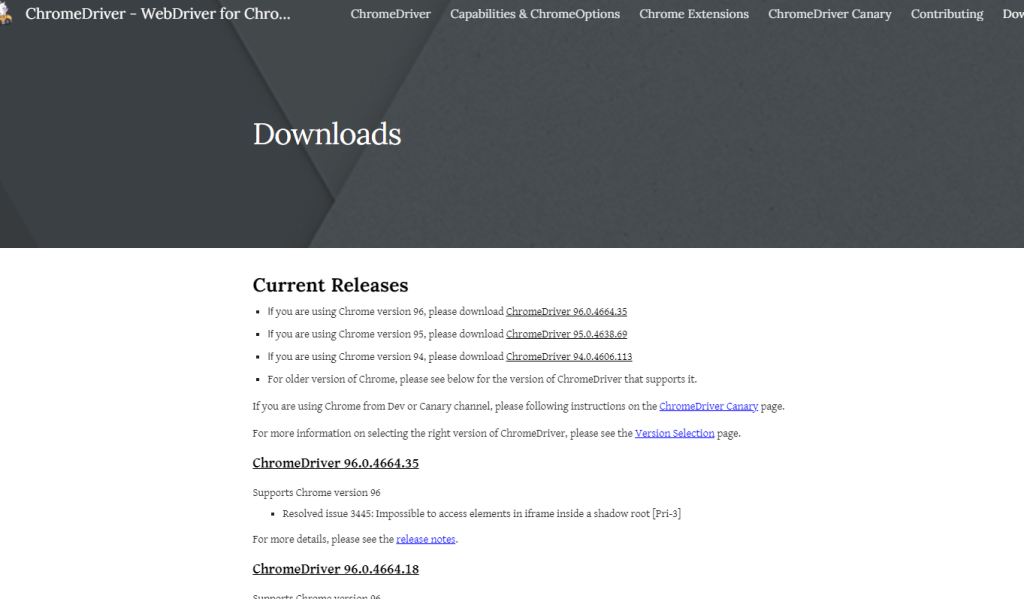
Windows環境のx64が存在していませんがx32のドライバでも動作しますので、chromedriver_win32.zipをダウンロードします。
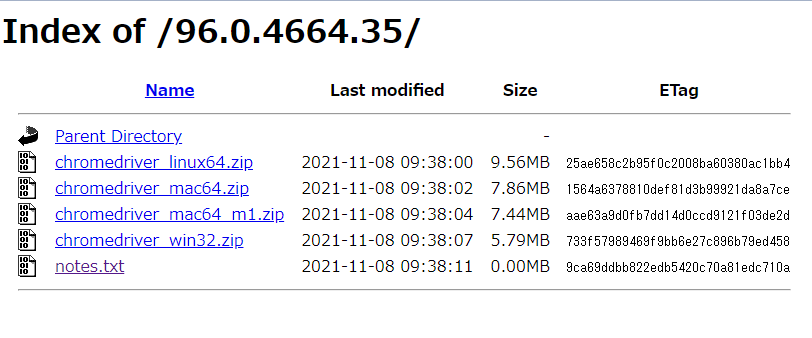
zipを解凍するとchromedriver.exeが得られます。
- Atom上でAlt + r で実行できます。サンプルソースは以下のようなものです。
- chromedriver.exe は、C:\AutoTest_Pythonフォルダに配置します。
import time
from selenium import webdriver
#ChromeDriverのパスを引数に指定しChromeを起動
driver = webdriver.Chrome("C:\AutoTest_Python\chromedriver")
#指定したURLに遷移
driver.get("https://www.google.co.jp")
#ドライバーを閉じる
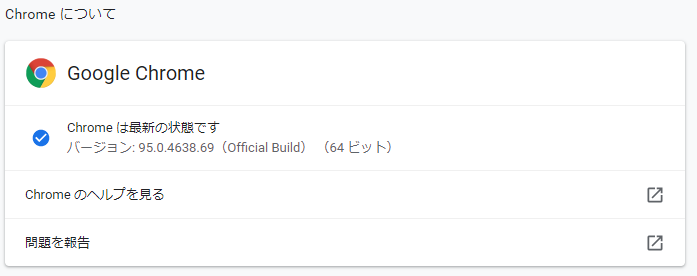
driver.quit()以下のようなメッセージが出力される場合、driverのバージョンとGoogleChromeのバージョンが一致していないため、エラーになります。
SessionNotCreatedException: Message: session not created: This version of ChromeDriver only supports Chrome version 96Google Chromeのバージョンを調べます。メニューのヘルプで分かります。今回は95.0.4638.69でした。
以下のサイトに行き、一致するドライバーをダウンロードします。

一致するドライバーをダウンロードします。Windowsの場合、chromedriver_win32.zipをダウンロードします。動作環境が64bitの場合でも動きますので、心配不要です。
Beautifulsoup4のインストール
- 必須ではありませんが、htmlのパーサーを使用したい場合には、 Beautifulsoupをインストールします。
- 文字列の間違いに留意します。以下のコマンドを参考にインストールしてください。
C:\Users\userA>pip install beautifulsoup4問題なくインストールされると以下のようになります。
C:\Users\userA>pip install beautifulsoup4
Collecting beautifulsoup4
  Downloading beautifulsoup4-4.10.0-py3-none-any.whl (97 kB)
     |████████████████████████████████| 97 kB 943 kB/s
Collecting soupsieve>1.2
  Downloading soupsieve-2.3.1-py3-none-any.whl (37 kB)
Installing collected packages: soupsieve, beautifulsoup4
Successfully installed beautifulsoup4-4.10.0 soupsieve-2.3.1
WARNING: You are using pip version 21.2.3; however, version 21.3.1 is available.
You should consider upgrading via the 'C:\Users\userA\AppData\Local\Programs\Python\Python310\python.exe -m pip install --upgrade pip' command.
サンプル実行
import time
import urllib.parse
from selenium import webdriver
from selenium.webdriver.common.keys import Keys
from selenium.webdriver.chrome.options import Options
from bs4 import BeautifulSoup
import csv
import glob
import os

##############################
#  def googleDisplay
##############################
def googleDisplay():
    #ChromeDriverのパスを引数に指定しChromeを起動
    options = Options()
    #options.add_argument('--headless')
    options.add_experimental_option('detach', True)

    driver = webdriver.Chrome(executable_path="C:\user\chromedriver",chrome_options=options)

    #指定したURLに遷移
    driver.get("https://xxxxxx/")

    html = driver.page_source

    html =html.replace('\xa0', '')
    html =html.replace('\xa9', '')
    html =html.replace('\xae', '')
    html =html.replace('\u200b', '')

    soup = BeautifulSoup(html, 'lxml')

    #ドライバーを閉じる
    #driver.quit()

##############################
# main
##############################

googleDisplay()

#exit()
エラーが出力される
以下のように、 lxmlが無いとエラーが出力される。
bs4.FeatureNotFound: Couldn't find a tree builder with the features you requested: lxml. Do you need to install a parser library?インストール
以下のようにpipで lxml をインストールする
C:\Users>pip3 install lxml
Collecting lxml
  Downloading lxml-4.7.1-cp310-cp310-win_amd64.whl (3.7 MB)
     |████████████████████████████████| 3.7 MB 6.4 MB/s
Installing collected packages: lxml
Successfully installed lxml-4.7.1
WARNING: You are using pip version 21.2.3; however, version 21.3.1 is available.
You should consider upgrading via the 'C:\Users\AppData\Local\Programs\Python\Python310\python.exe -m pip install --upgrade pip' command.
参考